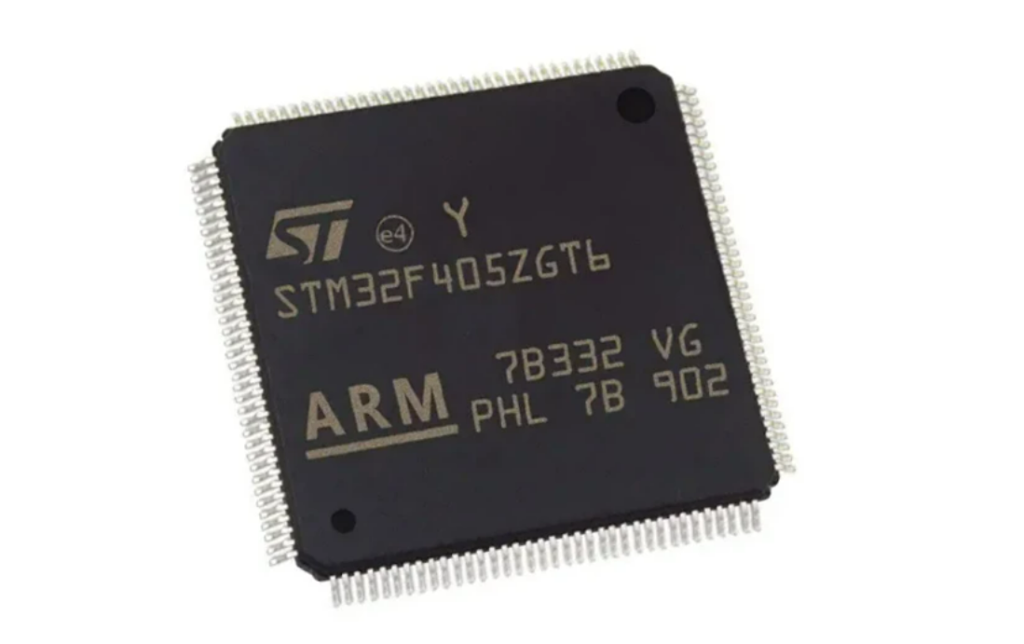
Attack Locked MCU STM32F405ZG Memory
Attack Locked MCU STM32F405ZG Memory and decrypt secured microcontroller STM32F405ZG tamper resistance system, embedded firmware of binary program or heximal data of microprocessor STM32F405ZG extraction will be performed by copying flash memory and eeprom memory content;

Developing with the STM32F405RG microcontroller typically involves the following steps:
Setting up Development Environment: You need to set up your development environment, which includes installing software tools like an Integrated Development Environment (IDE), compiler, debugger, and programmer. Popular choices for STM32 development include STM32CubeIDE, Keil MDK, and IAR Embedded Workbench.
Selecting Hardware: You’ll need a development board or custom hardware that uses the STM32F405RG microcontroller. There are various STM32 development boards available, such as the STM32F4 Discovery board or Nucleo boards, which make prototyping easier.

Getting Started with STM32CubeMX: STM32CubeMX is a graphical tool that allows configuring STM32 microcontrollers and generating initialization code to break secured stm32f405vg microcontroller’s flash memory. You can use it to configure peripherals, pin assignments, clocks, and other settings. It generates code that you can import into your IDE.
Writing Code: After configuring your microcontroller using STM32CubeMX, you can start writing application code. This involves setting up interrupts, configuring peripherals (such as UART, SPI, I2C), implementing algorithms, and handling communication protocols.

Compiling and Debugging: Use your chosen IDE to compile your code and debug it. Most IDEs provide features for setting breakpoints, stepping through code, and examining variables during runtime.
Flashing the Microcontroller: Once your code is ready, you need to flash it onto the microcontroller. This involves using a programmer/debugger tool (e.g., ST-LINK) to transfer the compiled binary to the microcontroller’s flash memory.
Testing and Iterating: After flashing your code onto the microcontroller, test it to ensure it behaves as expected. Debug any issues that arise and iterate on your code as necessary.

Optimization and Fine-Tuning: Once your code is working correctly, you can optimize it for performance, power consumption, or other metrics. This might involve tweaking algorithms, optimizing interrupt handling, or reducing unnecessary overhead.
Documentation and Version Control: Document your code and project setup for future reference. Use version control (e.g., Git) to manage changes and collaborate with team members if applicable.
Deployment: Once your application is fully tested and optimized, deploy it onto your target hardware for real-world use.

